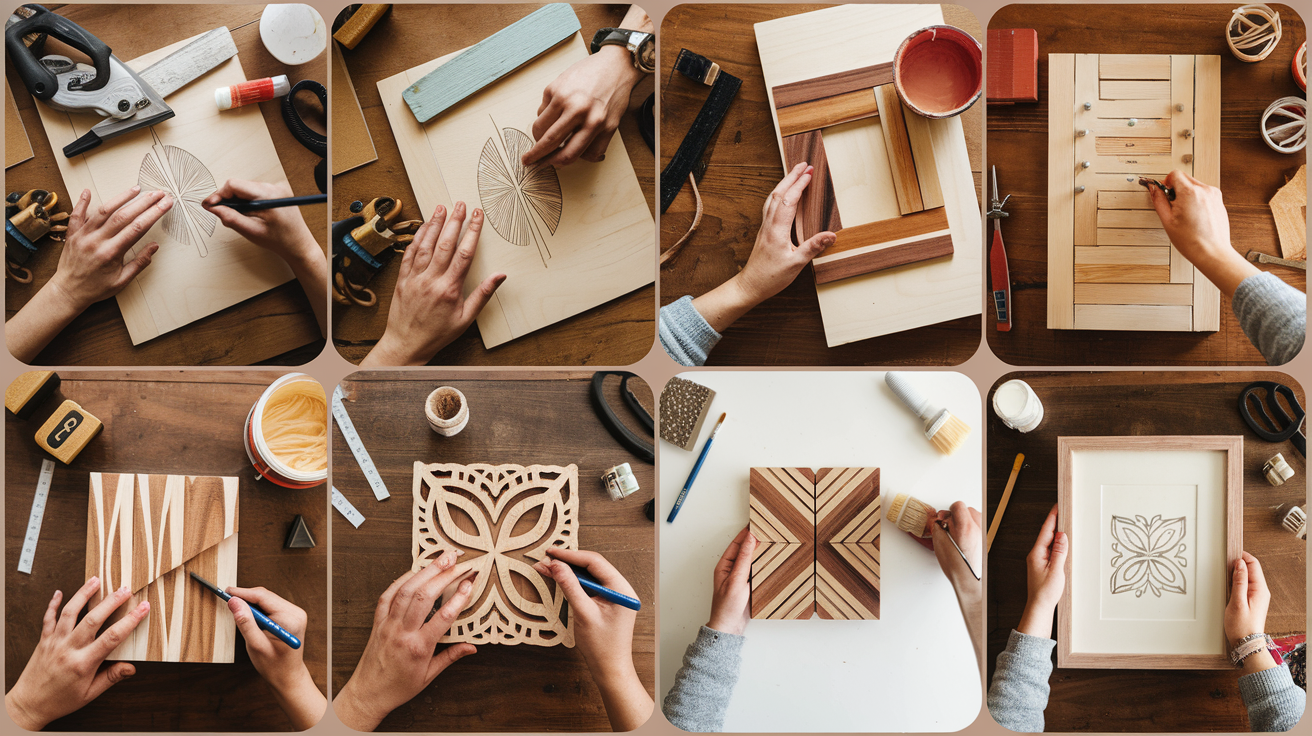
DIY wood wall art tops the list when it comes to adding a personal touch to your spaces. It’s an affordable way to give rooms a cozy feel. Making wall art requires nothing more than plywood, paint, and wood glue. Even with just these, amazing creations are within reach. Let’s walk through crafting beautiful wooden wall art using few tools and little effort.
Materials and Tools You’ll Need
Materials: Plywood or scrap wood, wood glue, sandpaper, wood stain or paint, a saw, and picture-hanging hardware.
Tools: Circular saw or utility knife, miter box and backsaw, clamps, and a ruler.
Choosing the Right Wood
Start with plywood or pine for your initial project. They’re simple to slice and color, perfect for crafting wooden wall art. If a farmhouse feel is more your style, consider using salvaged wood. It adds a touch of the unusual with a textured finish to your art piece.
Step-by-Step Guide to Crafting Your Wooden Wall Art
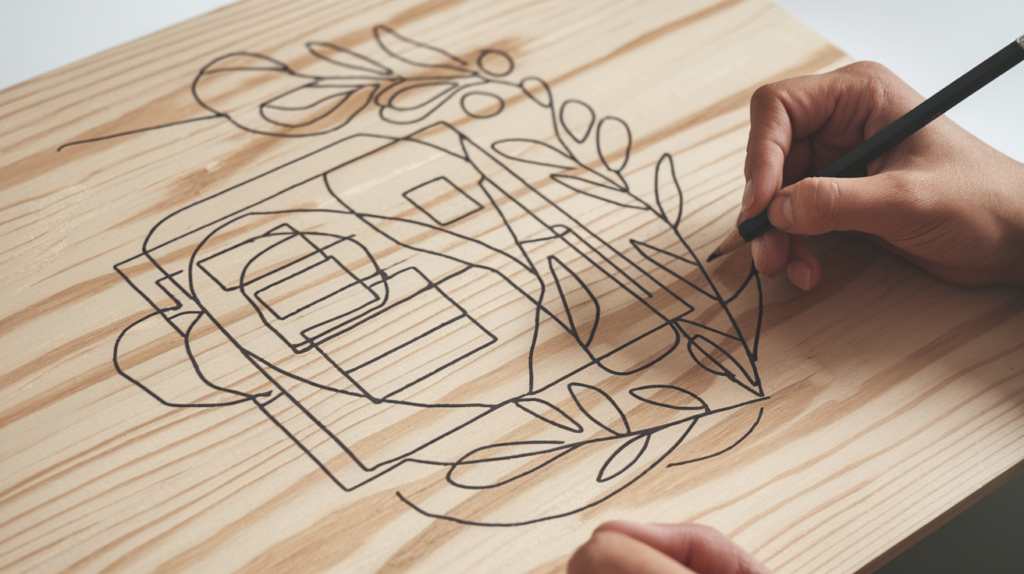
Step 1: Plan and Sketch Your Design
Think about what you want to carve into your wood. Draw it out on paper or trace it onto the wood with a pencil. You might like geometric shapes or maybe something simple and minimal. Perhaps you prefer patterns found in nature. If you’re new to this, stick to easier designs. When you’re happy with your design, start carving the wood.
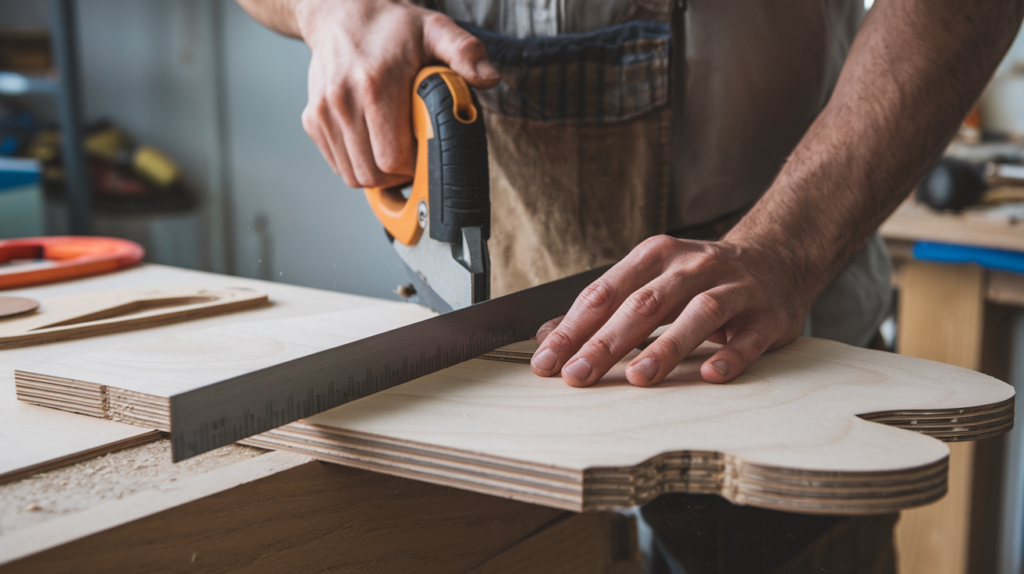
Step 2: Cut the Wood Pieces
Get down to shaping your wood now. Pick up a saw and size your plywood or spare wood to the forms required for your DIY wooden wall artwork. Precision plays a key role if you’re going for a geometric pattern, so be patient. For clean and straight lines, go ahead and use a ruler to keep your cuts right on track.
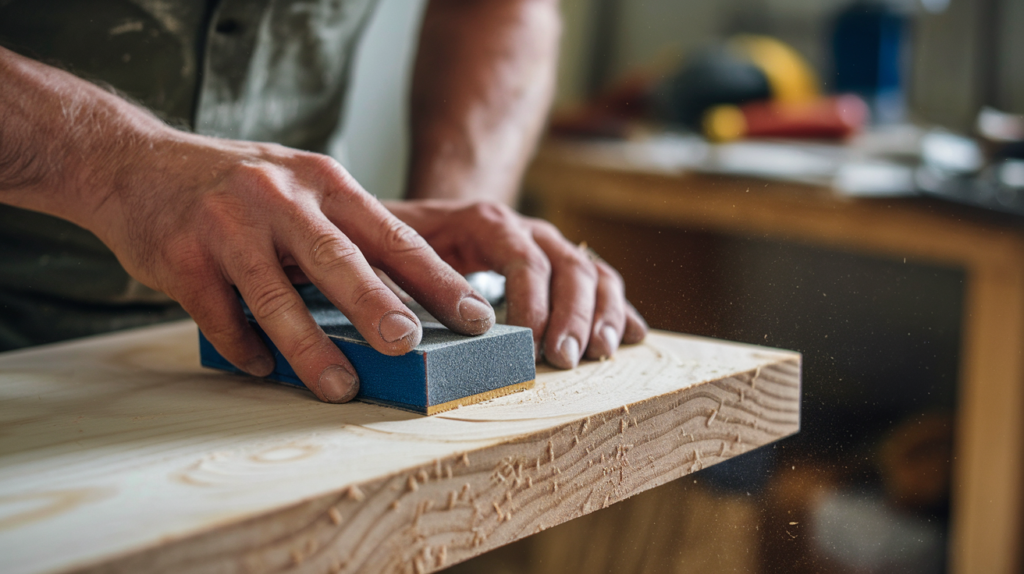
Step 3: Sand the Wood
Once you’ve done cutting, use sandpaper to smooth the edges. This process removes all the rough patches, giving the wood a clean, shiny look. If you plan to paint or stain your wall art wood, this step is crucial. Smooth surfaces make the finish stick nicely.
Step 4: Paint or Stain the Wood
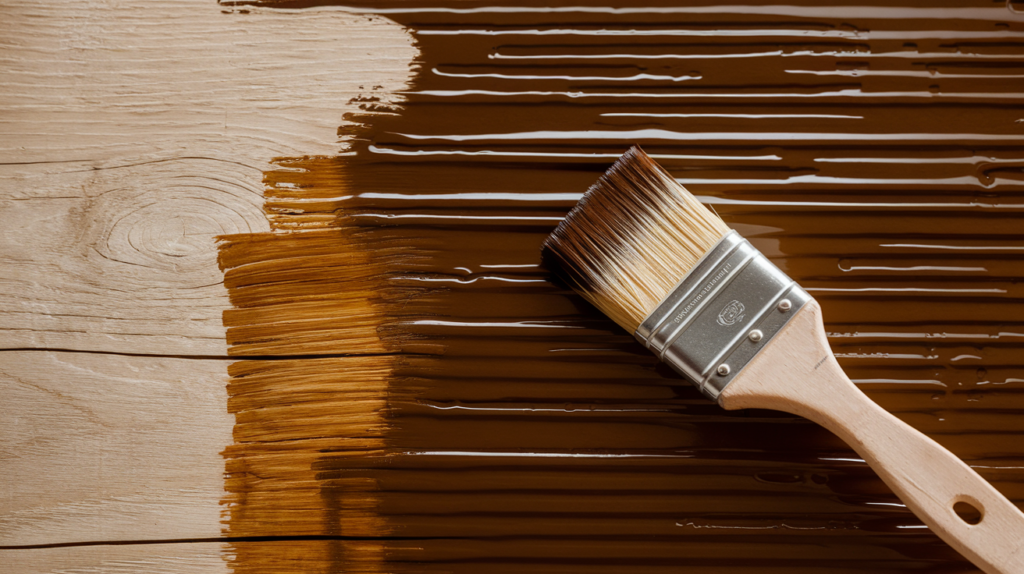
For a wooden wall art piece, the final style comes from either painting or staining the wood. Sticking with wood stain creates a raw, rustic feel. But if you’re after bold and lively, turn to acrylic paints. Put your selected finish on steadily, then give it time to dry before you move on. No need to hurry—the paint or stain needs to set fully to look its best.
Step 5: Glue the Pieces Together
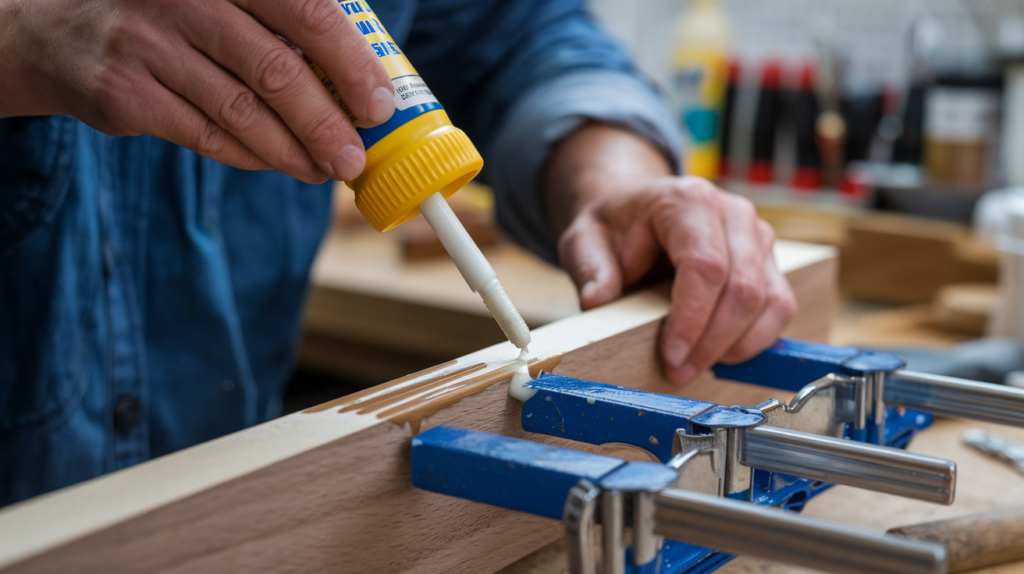
When your color or finish is set, begin to combine your parts. Place wood adhesive on the sides where the elements will connect, then push them to unite. For a firmer connection, use grippers to maintain stability as the adhesive settles. Leave the parts to dry thoroughly prior to proceeding.
Step 6: Add Decorative Details
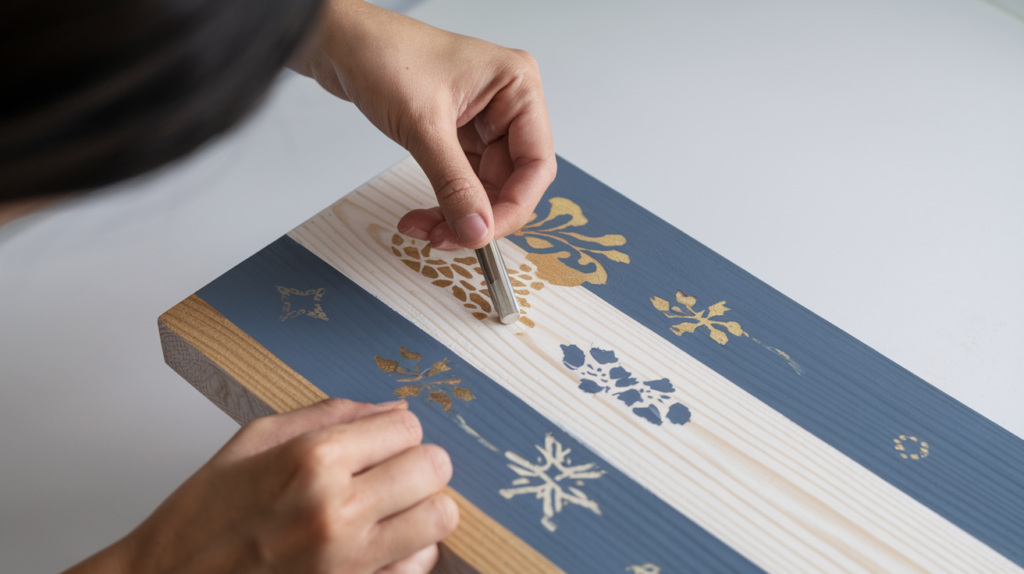
Think about adding tiny artistic touches, like shining accents, patterns, or colored motifs. If you’re looking for difference, here’s a method. Spread a transparent wood adhesive on parts of your colored layer, and then apply a stain on the nearby wood. This approach brings out an intriguing comparison between colored regions and the raw wood.
Step 7: Attach Hanging Hardware
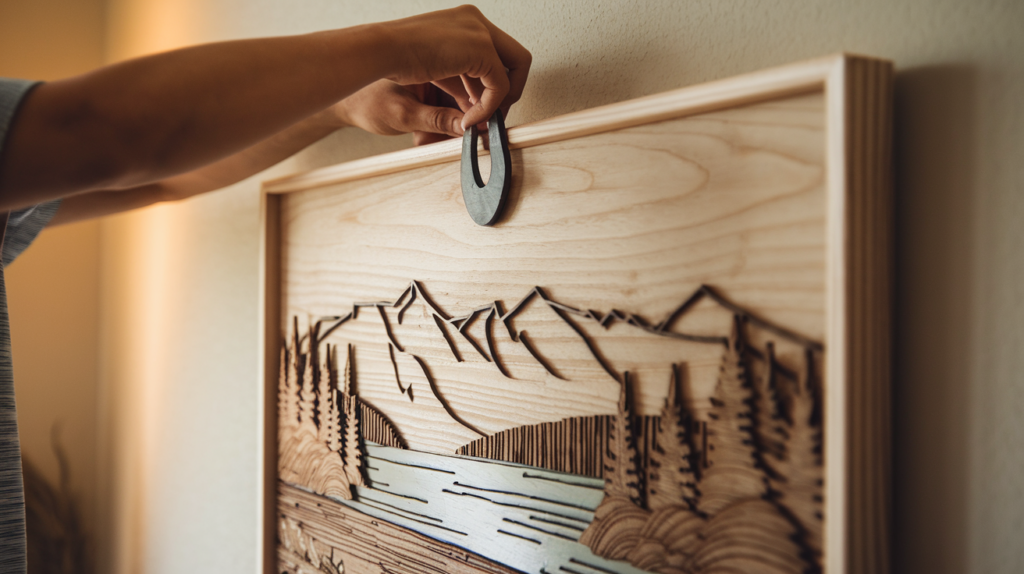
After your artwork has fully dried, it’s now the moment to affix the hanging apparatus. Connect a sawtooth hanger to the rear of your piece, confirming it’s located firmly at the top. This ensures you can smoothly mount your wooden wall art when you finish.
Step 8: Frame Your Wooden Wall Art
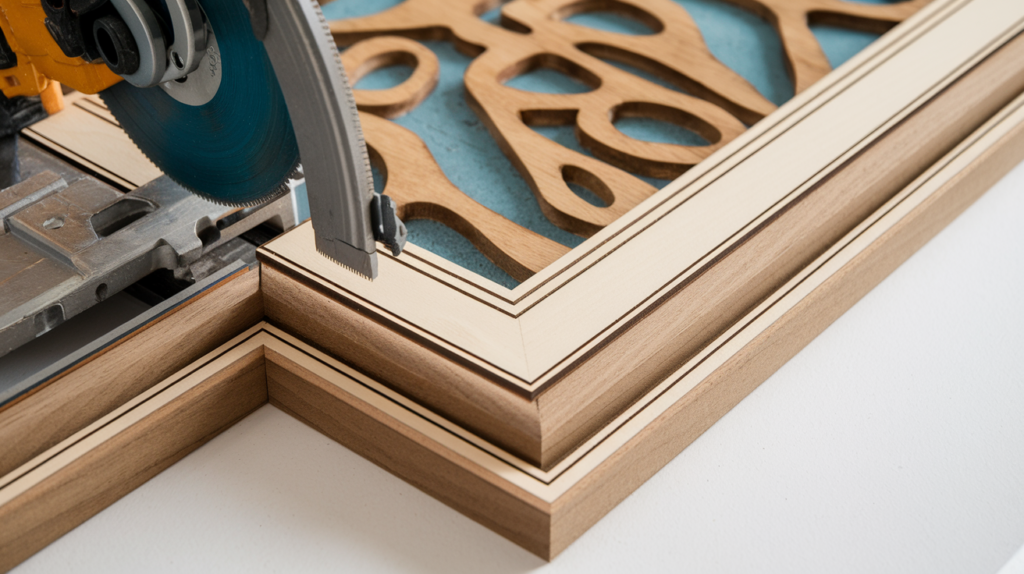
Complete your project by bordering the wooden piece with molding. Use a miter box and saw to size the molding accurately to fit your artwork. Adhere the edges together with glue. If your frame has a lip, position it towards the inside, surrounding your wall art’s wood. This step will enhance your artwork, giving it an expert finished touch. Be sure to let the frame dry thoroughly before you hang it up.
Conclusion
Building wooden wall art is an easy and enjoyable hands-on task. Just stick with this simple guide, and you can craft unique, self-made wood wall art that matches the exact look of your house. Opt for a simple style, a geometric design, or a rugged feel; the choice is all yours. Play with various methods and finishes because wooden art allows infinite creative space for DIY lovers at all experience levels. Start collecting the stuff you need today and turn a slab of wood into an impressive masterpiece that will enhance any room in your home!

