Updating your home doesn’t mean shopping or calling a pricey designer. All you need is some creativity, fabric, and the right mindset. Whether you’re a pro or a DIY beginner, textile wall art is a great opportunity to make your house your own. These textile designs add warmth, texture, and color to any space. It also builds a comfortable and stylish atmosphere that reflects your unique taste.
So, if you’re feeling crafty and want to enhance your home design, jump into these easy and exciting DIY textile wall art projects. You’ll be surprised how simple it is to turn ordinary items into brilliant works of art that can transform your walls.
Materials You’ll Need
If you are thinking about crafting a textile wall art, you need to know the materials you’ll need to ensure a smooth and creative process:
| Material | Description | Usage |
|---|---|---|
| Fabric of Choice | Choose fabrics like cotton, linen, burlap, or scrap fabrics from old clothes. | The main element of your art, providing color, texture, and design. Use it to cover your base or create collage shapes. |
| Wooden Embroidery Hoops/Canvases | Wooden hoops for circular frames or canvases as a solid backing. | Provides a sturdy structure to stretch fabric or glue decorative elements onto. |
| Scissors | Fabric scissors are essential for cutting fabric neatly without fraying. | Used to cut fabric into various shapes or trim edges for clean lines. |
| Fabric Glue/Hot Glue Gun | Fabric glue for lightweight materials; hot glue gun for heavier items. | Secures fabric, yarn, or embellishments onto your canvas or embroidery hoop. |
| Needle and Thread | Choose thread that matches or contrasts with your fabric. | Optional for hand-sewing intricate details, stitching patterns, or attaching smaller pieces like beads. |
| Paint or Fabric Dyes | Use fabric paints or dyes in various colors to add bold designs or subtle touches. | Allows customization of plain fabric or the creation of hand-painted designs and patterns. |
| Brushes | Different-sized brushes, from fine tips for detail work to larger brushes for broader strokes. | Used for painting or dyeing fabric, applying glue, or creating artistic strokes on your textile piece. |
| Yarn, Tassels, Fringe | Yarn, tassels, and fringe add texture, dimension, and movement to your textile art. | Great for creating borders, adding layers, or weaving through fabric for a bohemian look. |
| Beads, Buttons, Sequins | Small decorative elements like beads, buttons, and sequins in various shapes and colors. | These can be sewn or glued onto fabric for added sparkle, dimension, or texture. |
| Frame or Hanging Materials | Frames, wooden dowels, string, or wire for hanging finished pieces. | Display your finished textile art by framing it for a polished look, or hanging it using dowels or string for a modern touch. |
| Embroidery Hoop | A circular hoop that holds fabric tight while you embroider patterns or designs. | Perfect for stretching fabric and creating a sturdy surface to stitch or embellish. |
| Sewing Machine (Optional) | A sewing machine helps with larger projects or detailed stitching. | Speeds up sewing for quilted designs or attaching fabrics, especially for larger or more intricate projects. |
Step-by-Step Guide for a Simple Textile Wall Art Project
- Choose Your Fabric: Opt for an assortment of textures in hues and designs that go well together. Feel free to use materials like cotton, linen, felt, or even old clothes.
- Cut the Fabric: Cut the textile scraps into varied figures with scissors. You might try shapes like circles, triangles, or even unusual forms. Different sizes and shapes make your design more interesting.
- Arrange the Pieces: Place the cut textile pieces onto your canvas or back material. Fiddle with settings until you find a design you like. Overlap parts for a stacked effect.
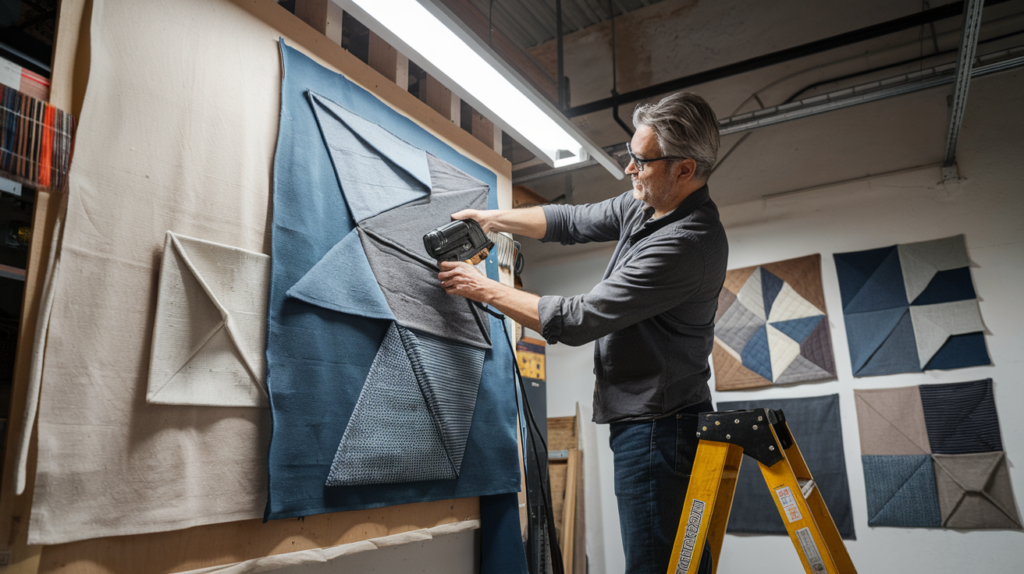
- Secure with Fabric Glue: Once you’re happy with the arrangement, use fabric glue or a hot glue gun to secure each piece to the backing. Make sure to apply enough glue to keep the edges down.
- Frame It or Leave As-Is: You can frame your completed collage for a clean appearance if you want. Or, let it be to highlight its rough, handcrafted beauty.
- Hang and Enjoy: Step back and admire your new DIY textile wall art! Feel free to experiment with different fabrics and designs for future projects.
Project Ideas for DIY Textile Wall Art

Let’s explore some unique ways to create your own textile wall art. These ideas vary from simple projects to slightly challenging ones:
Textured Fabric Collage
First, collect several textile types like smooth cotton, coarse burlap, and thick velvet. Now, cut these fabrics into various shapes like squares, triangles, or even random designs. Place them on any plain canvas or cardboard. Now is the time to position these fabric pieces in a design that you find attractive. This could be random or follow a specific pattern. The secret is to pile the fabrics to give a sense of depth and make it visually captivating.
Once happy with your design, start sticking each piece, using fabric glue or a hot glue gun. Begin from the base layer and work your way upwards for a 3D feel. Let the glue dry. Remove any extra fabric along the borders. For a raw look, leave edges unfinished or glue them in for a neat look. This project makes a vibrant, layered artwork that adds a cozy feel and depth to your room walls. It’s a brilliant way to put fabric leftovers to good use.
Fabric Weaving Wall Art
Let’s begin with building a simple loom. Get some sturdy yarn or twine and make a warp, which are the vertical threads. You can craft your loom with a piece of cardboard. Cut grooves into the cardboard’s edges. With the warp ready, cut some fabric into strips about 1-2 inches wide. Or, use yarn for a softer touch. Start the weaving process. Move the fabric strips over and under the warp threads. Reverse this pattern with each row for strength. While weaving, feel free to blend textures, colors, or materials to craft your special design.
When you’re done with the weaving, secure the fabric ends and detach it from the loom. Fasten it to a wooden dowel or branch for hanging. Adding fringe or tassels could give an extra touch. This activity is wonderful because it’s versatile. You can play with different textures and materials. You get a unique, handmade item with a homey, sensory appeal.
Macrame Wall Hanging
Start by slicing several lengths of macramé cord, generally about 3-4 feet long. Bend each cord at the midpoint and hitch it to a wooden dowel or branch. You can do this using Lark’s head knot. This means you drape the loop over the dowel and tug the ends through. Once you have all cords secured, begin knotting in your chosen fashion. Square knots work well at first. Combine them with half-hitch or double-half-hitch knots for fancy patterns.
If you like, switch up the knot styles or make diagonal or geometric designs. Upon finishing your pattern, clip the tips of the cords straight or at an angle for tidiness. Coloring the tips or adding embellishments like beads is an option. To display, hang using a string or straight onto nails. This craft results in a stunning, textured decor for your wall, offering a natural, boho flair. The detailed knotting proves to be calming and meditative as you become accustomed to the flow.
Tips for Beginners in Textile Wall Art

- Begin with Simple Projects:
Get started on textile wall art with easy and meaningful projects. Put together different colors and pattern fabric scraps. Cut them into shapes and arrange them on a base material. You can stick or stitch the parts. It’s a fun, relaxed method to try out design without the need for exactness.
Begin with a mini hoop and easy stitches. Simple patterns like blossoms, geometric forms, or random lines can appear striking once in a frame. Also, it’s simple to display embroidery hoops as immediate art.
- Experiment with Color Combinations and Textures:
Textile wall art is about colour and texture interaction. Experiment with different materials and shades to ignite your imagination.
Match bright hues with gentle tones. You can mix smooth materials like silk with grittier textures like burlap. Also, Blend unusual combinations without fear. Try layering fabrics for added dimension. A neutral background with bright, textured fabrics on top can create striking effects.
- Embrace Imperfections:
The charm of DIY textile wall art lies in its distinctiveness, as every piece is unique. For beginners, embracing that your work doesn’t need to be perfect is key.
Lots of crafts view flaws as good, giving character and allure. Crooked stitches, a little off straight lines, or handmade edges all add sincerity to your masterpiece. Shift your focus from the finished work to the pleasure of making it. Each project aids in mastering new skills and nourishing your assurance.
How To Display Your Textile Wall Art
- Framing:
If you want a smooth and formal edge, try encapsulating your textile wall art in glass. It safeguards the material and provides a neat, polished look. A deep box frame brings dimension; this lets corded, richer textiles stand out without being pressed flat.
- Hanging Rods:
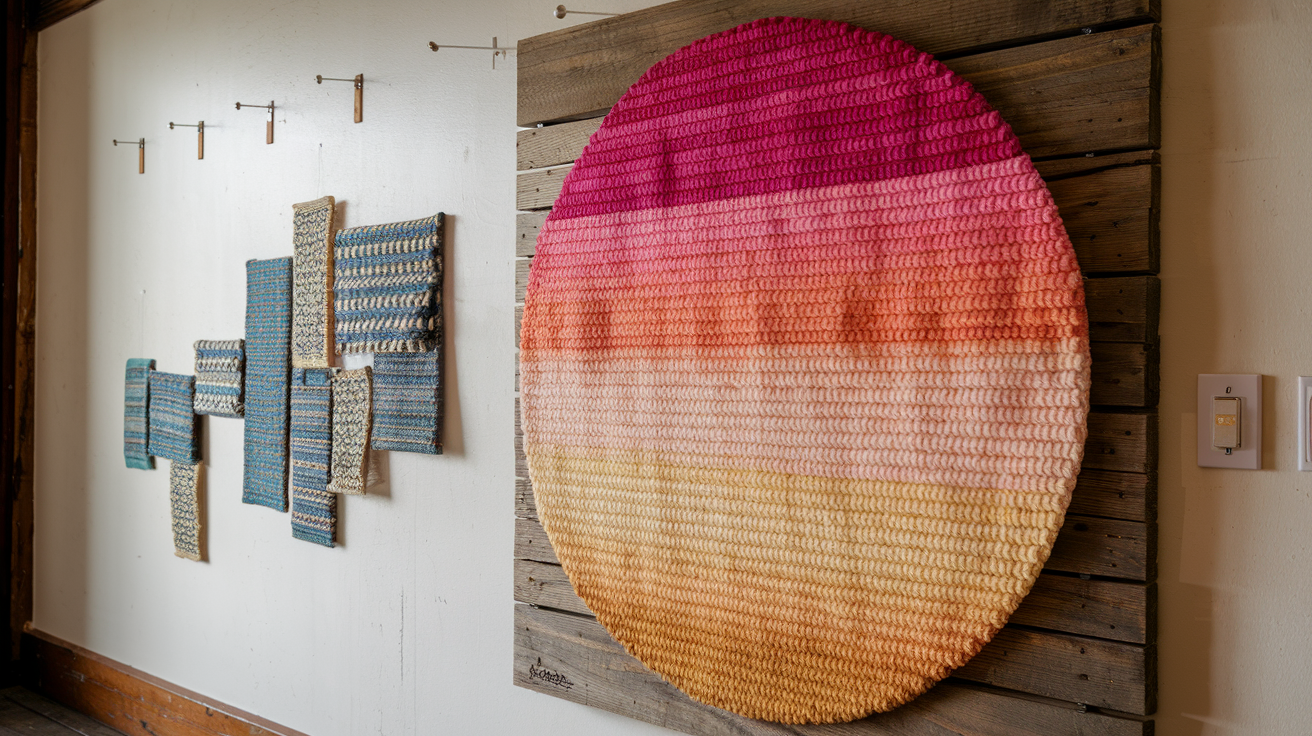
Connect the upper part of your textile wall art to a pole made of either wood or metal for a time-honored and straightforward way to hang it. Feel free to pick the type of pole that matches your room’s aesthetics. Also, you can use stylish hooks or clips to suspend your art, creating a casual yet elegant look.
- Stretching on a Canvas:
Just like a painting, pull the cloth across a wood frame. It’s perfect for bigger art pieces, giving them a gallery look. Stick the fabric to the frame’s back with a staple gun. This way, it stays stretched out.
- Pinning or Tacking:
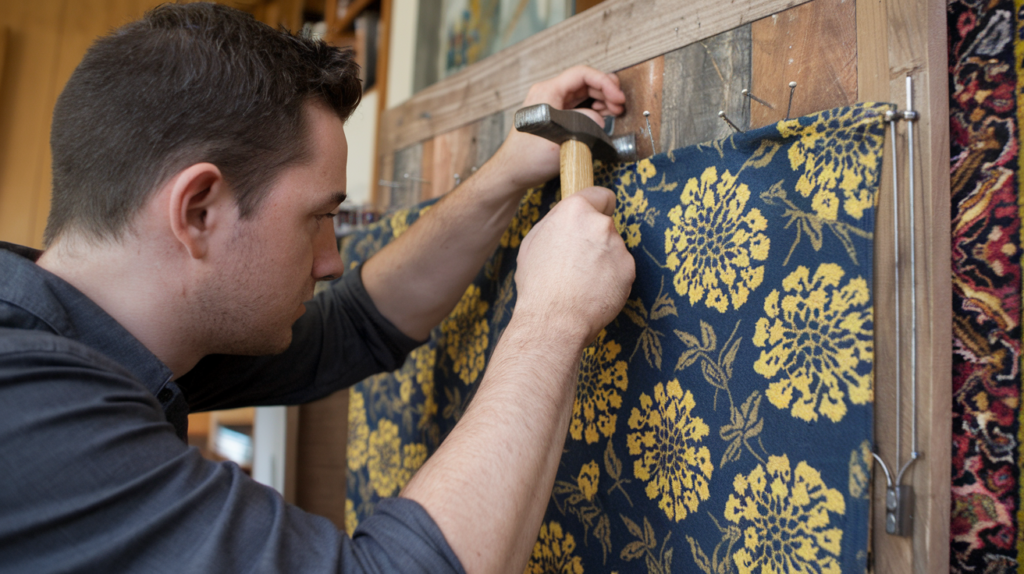
To achieve a laid-back, boho style, fasten your textile wall art to the wall. This lets you change up the display with ease and gives the room a chill atmosphere. Pick intricate or brass fasteners that enhance the design of your tapestries, adding a creative flair.
- Floating Shelf Display:
Prop your textile wall art on a floating shelf alongside complementary decor like vases or books. This is perfect for smaller pieces and creates a layered, dynamic look.
Conclusion:
In conclusion, creating your own cloth wall decoration can be a great way to make your space unique imagination, striking colors, and texture. No matter if you’re an experienced DIY pro or a newbie, these tasks are both achievable and fun ways to showcase your taste. Your options range from fabric assortments to knitting and macramé arts, providing the limitless potential to truly revamp your surroundings. By using some basic supplies and your own creative spark, you can make exceptional wall adornments that radiate a cozy vibe and personality into your home, portraying your individual artistic concept. So, get that fabric ready and dive into crafting!

