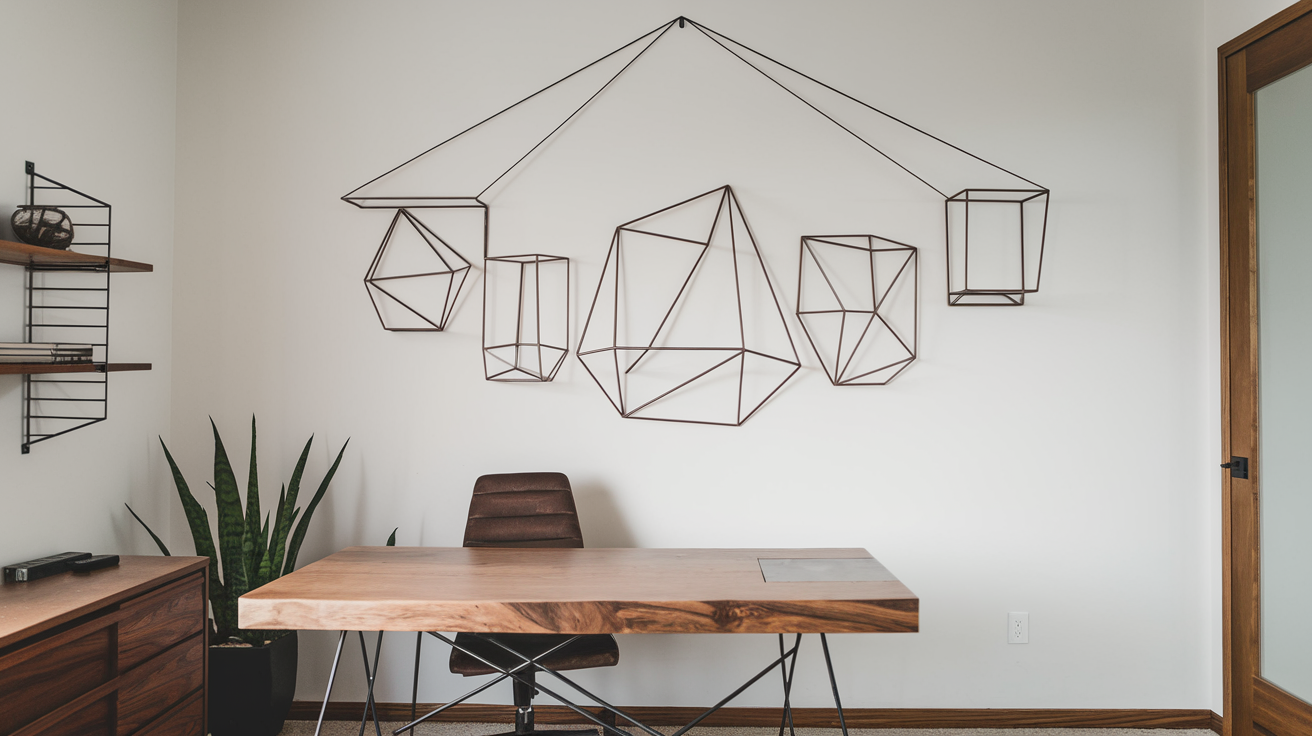
If you are worrying about the idea of puncturing our walls, scared of possible damage or fixing costs. Don’t worry Hanging metal wall art without nails is your perfect solution, making you able to hang your wall art in some easy steps and add value to your space even though you’re in a place you can’t use the drill and nails in. Let’s check out some imaginative, nail free ways to display your art wall pieces, preserving your walls just as they are.
Choosing the Right Wall Art
Deciding on the ideal metal wall art for your space begins with surveying the array of styles out there. You might discover abstract pieces that spark your imagination, or perhaps rustic motifs that offer a down-to-earth vibe catch your eye. Maybe it’s the modern art pieces that project a polished appeal that you gravitate towards. The key is finding a piece that integrates smoothly into your decor and heightens the mood of your room while preparing to hang it properly.
Your artwork’s size and weight are crucial. Art that’s lighter is easier to handle, and you can hang it using a simple stick-on. This is great for those who like to keep things easy. On the other hand, bigger art pieces need stronger hanging methods. You might need to use things like magnet strips or wire setups.
Effective Creative Hanging Solutions
Adhesive Hooks
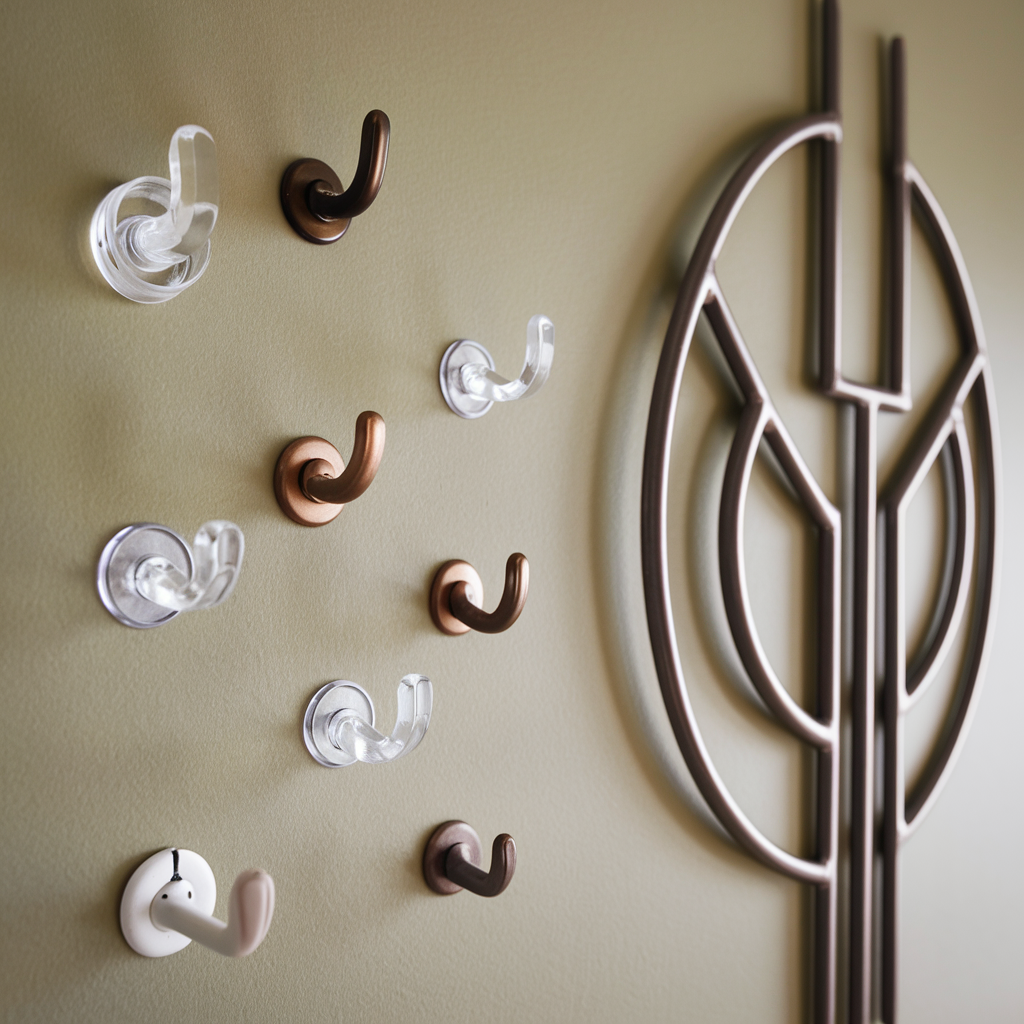
Sticky hooks are great for showcasing metal wall art without hurting your walls. They’re easy to use – just peel, and stick, and your art is up! You can find different kinds of sticky hooks. Clear hooks blend well with your wall for a clean, simple style. Bronze hooks bring class and cozy vibes. And fun, designer hooks have special shapes and finishes to suit your taste.
Make sure the wall is clean before you put up any adhesive hooks. This helps the hooks stick better. Check the weight limit on the hooks, too. They should be able to hold your artwork safely. Cleaning the wall before you use adhesive hooks helps them stay on better. Always check the weight the hooks can stand. It’s important they can hold art.
Command Strips
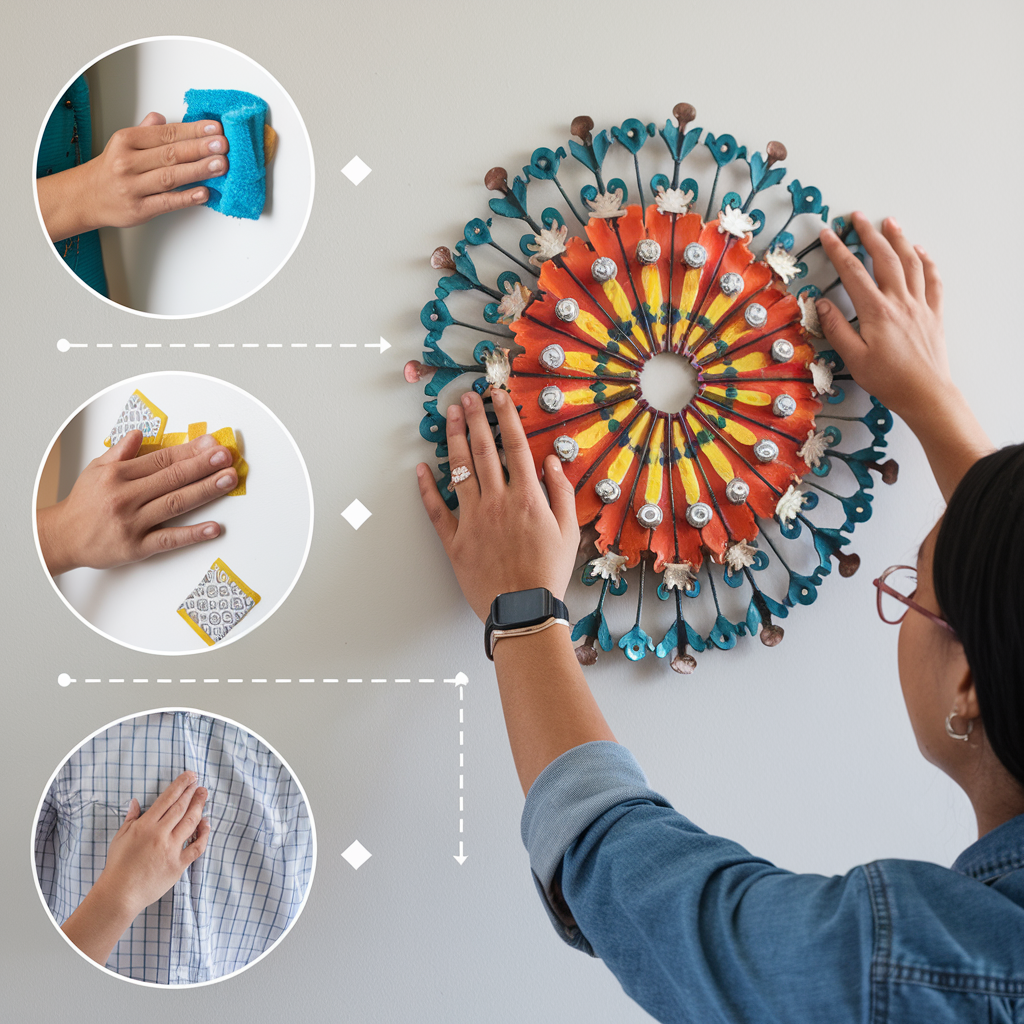
Command strips are a game changer in the world of wall decor. They’re an effortless, non-damaging method to showcase your art pieces. These strips come in various strengths, supporting anything from small metal signs to bulky compositions. Begin by wiping your wall with a soft cloth and some alcohol.
Then peel off the strip’s backing, place it on the wall, and hold it for half a minute. Take your time – allow the strips to sit for over 60 minutes before securing your metallic wall art. This ensures the best grip. When you need to switch it up, just pull the strips off. They come off clean, leaving your walls spotless.
Leaning Metal Art Against the Wall
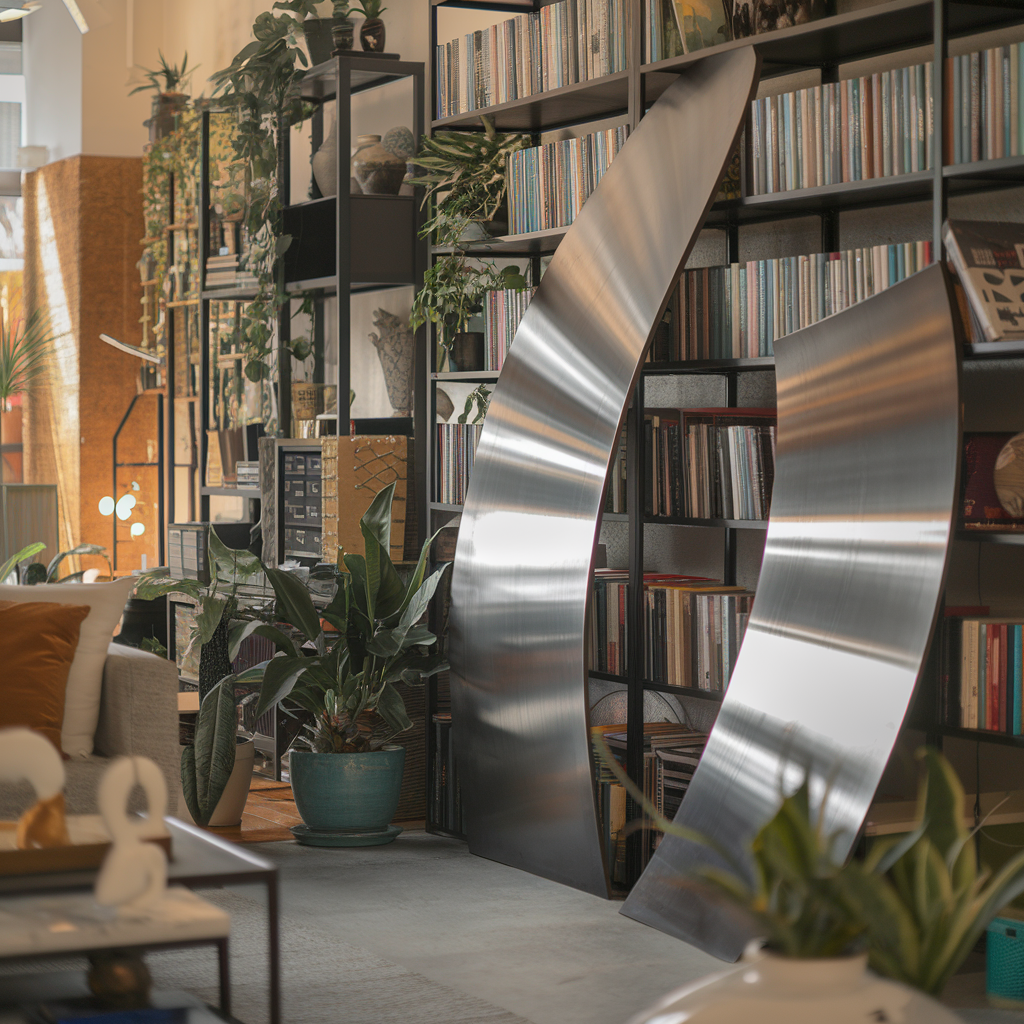
Usually, the basic fixes stand out the most. Just place your steel work against the wall for a cool, modern touch. Bigger pieces suit best. Let your piece shines, be it a highlight at the fireplace or leaning up against a bookcase for an arranged museum aura. To stop any fall over, think about using a brace or wall guards.
Wire Hanging Systems
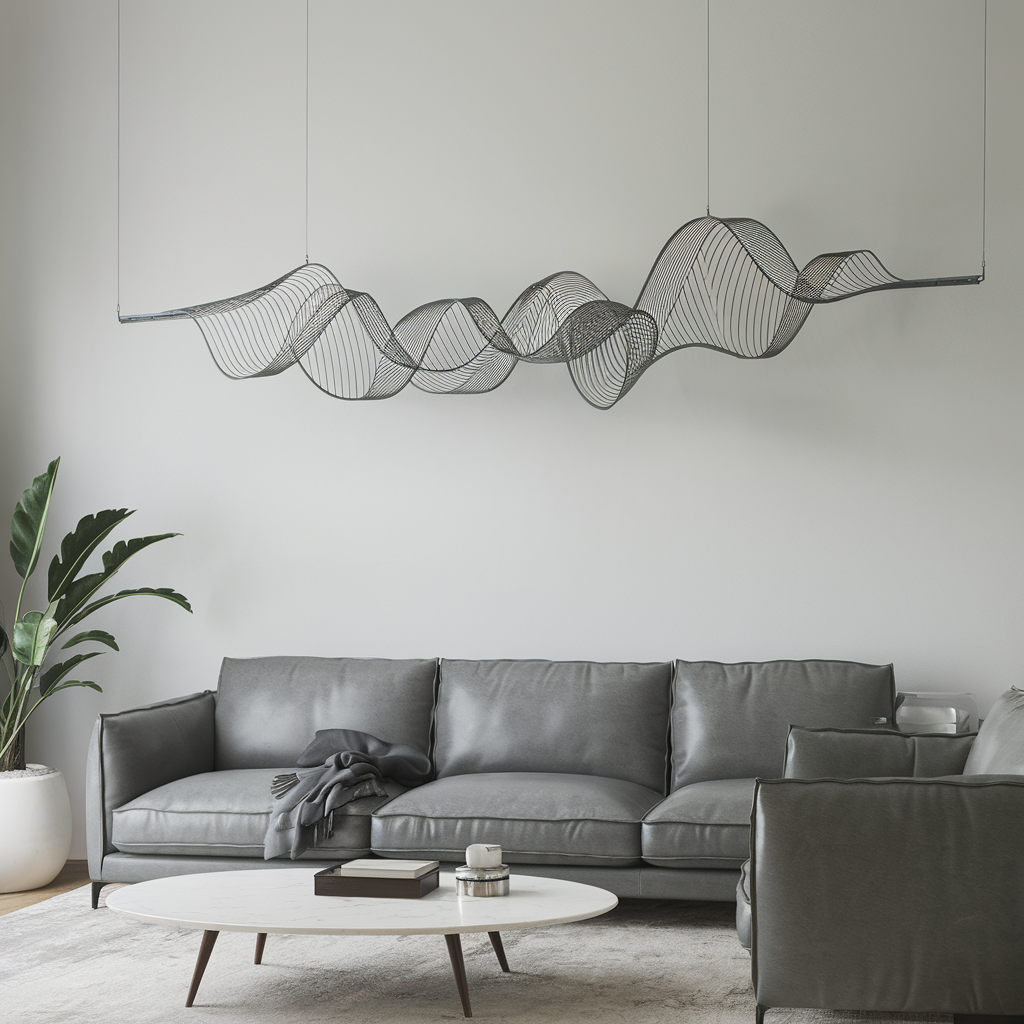
If you’re into contemporary styling, wire hanging systems are the way to go to display your metal wall art. They use slender, nearly invisible wires hanging from hooks or mounted on the wall. Your art seems to float in mid-air, standing out without competition. Simply put, your custom-made metal wall art becomes the highlight, casting a classy aura wherever it’s displayed.
Magnetic Walls
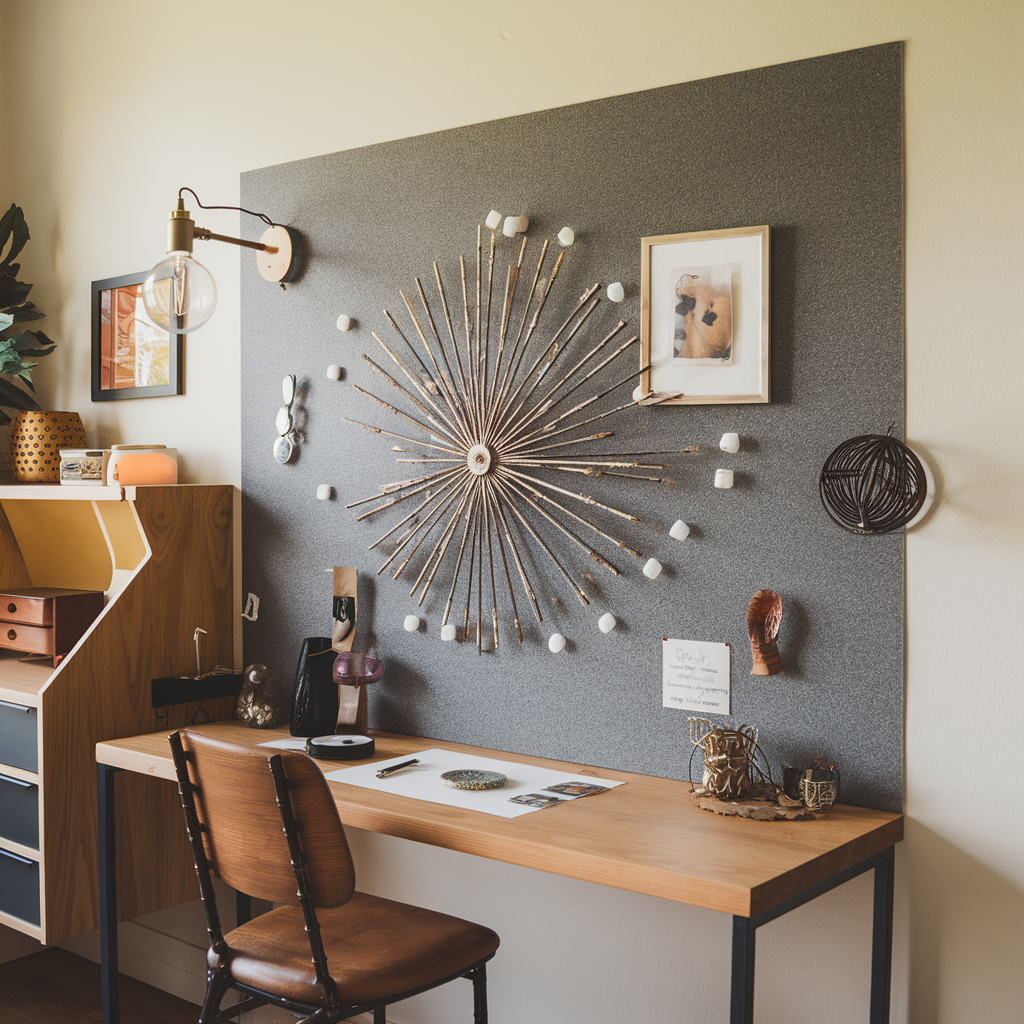
If you Need a unique, flexible way to display your metal wall art then Turn a part of your wall into a magnetic showcase! You can use magnetic paint for a whole wall or sticky sheets for specific areas. This method is not just pretty but also allows you to easily move your artwork around whenever you feel like it.
Velcro Strips
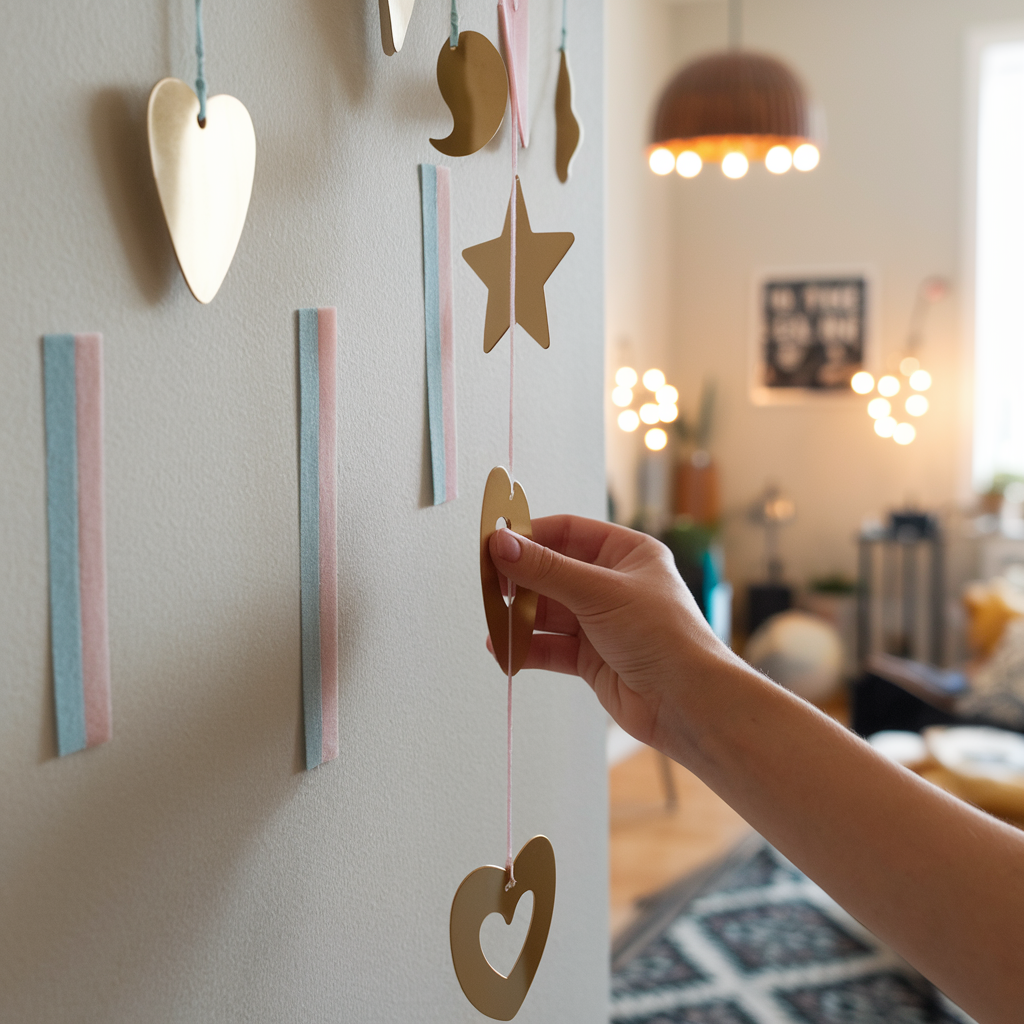
Think about using Velcro strips for an easy choice. They’re two-sided fasteners and a rapid fix for hanging light metallic decorations like neat signs or ornamented plaques. Velcro strips won’t work for heavier items, but they’re a handy and straightforward solution.
Tips for a Stunning Display
| Tip | Why It Matters | How to Implement | Bonus Advice |
|---|---|---|---|
| Choose the Right Wall | The right wall enhances visibility and focus. High-traffic or focal areas naturally draw attention to the artwork. | Select a feature wall (e.g., above a sofa, bed, or fireplace). Ensure the wall contrasts with the metal art’s color and texture for maximum impact. | If the room feels neutral, opt for bold metal pieces to create a focal point. In busy spaces, simpler designs work best. |
| Groupings and Arrangements | Grouping pieces adds depth and creativity, making your display more dynamic and artistic. | Arrange multiple pieces symmetrically for balance, or asymmetrically for a modern vibe. Plan your layout with paper cutouts first. | Use painter’s tape to experiment with layouts before committing to placement. |
| Lighting is Key | Proper lighting brings out the textures and reflective properties of metal, transforming static pieces into dynamic ones. | Use track lighting or spotlights to focus on the art. Avoid direct sunlight to prevent glare. | Consider dimmable lights for adjustable ambiance based on time of day or mood. |
| Mind the Height | The right height ensures that the art is easy to view and harmonizes with the rest of the room’s design. | Hang art at eye level (57-60 inches from the floor). If above furniture, leave about 6-8 inches above the top. | In high-ceiling rooms, experiment with hanging art higher for a dramatic effect. |
| Mix Materials | Combining different materials with metal art (wood, canvas, or glass) creates contrast and texture, enhancing the visual interest. | Mix metal art with complementary textures in your gallery wall for a rich, layered look. Keep it balanced by aligning styles. | Try combining rustic metal with modern, sleek wood frames for a fusion of styles. |
Conclusion
Wrapping up, putting up metal wall decor without nails offers endless options for those aiming to spruce up their room without wall damage fear. Whether you’re a tenant or just prefer not drilling holes, the shared neat alternatives adhesive hooks, command strips, or even magnetized walls make displaying your top pick art pieces both secure and trendy. From light metal plaques to bigger standout artifacts, these strategies let you show off your taste while keeping your walls solid. With a touch of forethought and suitable equipment, any room can become an art space, spotlighting your metal art in a method that’s both fresh and easy.
People Also Ask
What types of adhesive hooks are best for hanging metal wall art?
When choosing sticky hooks for your metal artwork. Think about clear ones for a clean look, bronze ones for vintage charm, or designer ones with different forms and finishes. Make sure to look at the weight limit of the hooks to guarantee the safe hanging of your artwork.
Can Command strips hold heavier metal wall art?
Command strips are versatile, made to hold various weights of metal wall art. For larger items, pick strips that can handle the load. Stick to the maker’s guidelines for ideal stickiness and let the strips rest for an hour before you hang your artwork.
How can I ensure my metal art doesn’t fall when leaning it against a wall?
When placing your metal wall art against a wall, you might want to think about using a solid base or a wall bumper. It gives extra steadiness. To keep it safer, try setting the piece in a corner or up against furniture.
What are the benefits of using a magnetic wall for hanging art?
A magnetic wall is like a crafty canvas for metal wall art. It’s easy to change things up without harming the wall, thanks to magnetic paint or adhesive sheets. It’s a cinch to swap art pieces as your taste changes – an ideal choice for those who relish in regularly revamping their decor.

