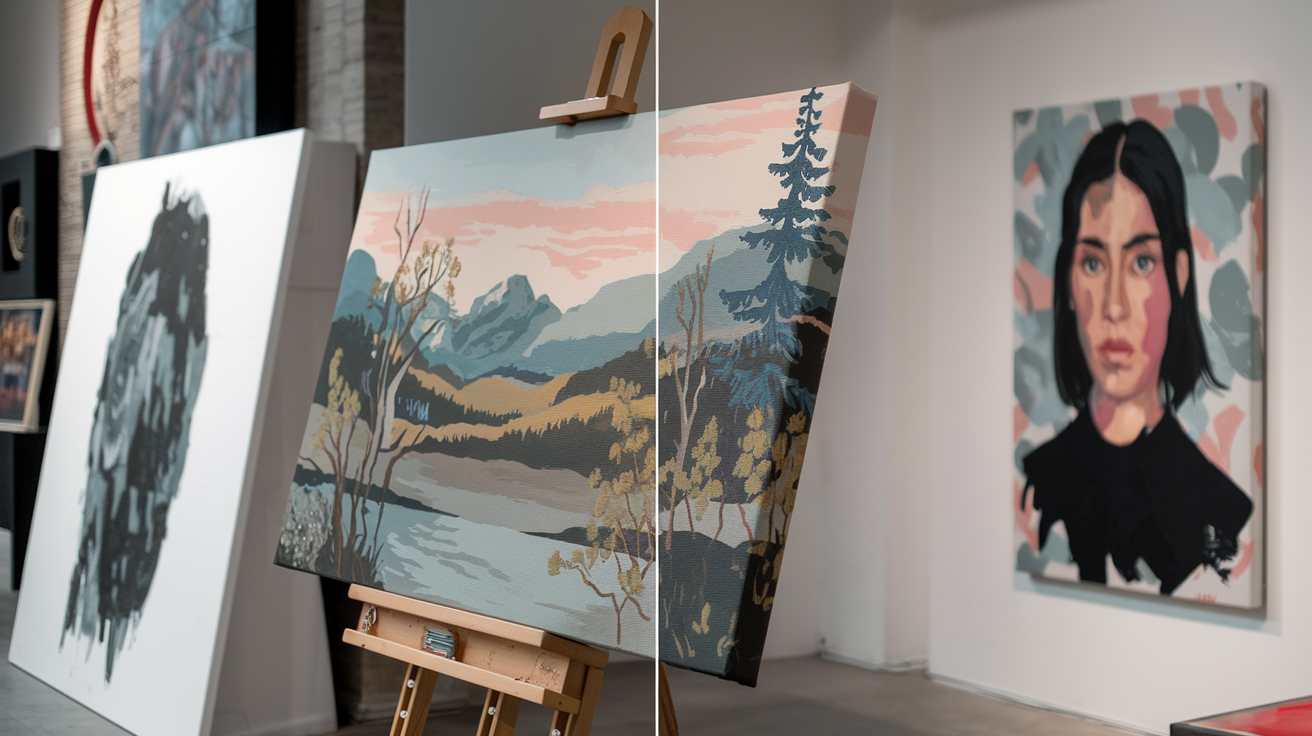
Canvas art doesn’t just gain support from its frame. Your piece also becomes something bold. It doesn’t matter if you want to frame your canvas for style, hang it frameless, or build a unique frame. This guide has all the handy tips you need.
Whether you’re picking the perfect frame for various canvas styles or figuring out how to hang it, we’re here to help. We’ll guide you on framing canvas art, mounting it without a frame, crafting your own frame, and more.
Why Framing Canvas Art Matters
Putting a frame on your canvas art does more than make it look good sure, it spices up its appeal. But the right frame also watches over your work, safeguarding it from shape loss or drooping as time goes by. Here’s why framing matters:
- Protection: Frames protect the canvas edges from dust, moisture, and everyday damage.
- Better Look: The best frame boosts the artwork’s attractiveness, making it more impressive and unified in your area.
- Preservation: Choosing good materials like UV-protecting glass or acid-free covering can make your art last. It’s all about framing it the right way.
Types of Canvas Art You Can Frame
When gearing up to create, know this there are two major kinds of canvas art you should know about: stretched canvas and rolled canvas.

- Stretched Canvas: Think of it as art stretched across a wooden structure – called ‘stretcher bars’. It’s all set to be hung on the wall. But add a frame, and there you have it! Extra stability, extra impressiveness.
- Rolled Canvas: A canvas sold in its rolled-up state generally doesn’t come with a frame. It needs to be stretched over wooden bars first.
Framing is pretty simple for a canvas that’s already stretched. But, a rolled-up one requires some extra prep work before it’s ready for framing.
Frame Options and Specifications for Different Canvas Types
| Frame Type | Model | Material | Finish Options | Sizes Available | Best Use |
|---|---|---|---|---|---|
| Wood Frames | 310 | Pine Wood | Matte, Gloss | 5/8″, 3/4″ | Small to medium artworks |
| Wood Frames | 502 | Oak | Natural, Stained | 5/8″, 3/4″ | Portraits and landscapes |
| Wood Frames | 503 | Walnut | Gloss, Satin | 5/8″, 3/4″ | High-end artwork display |
| Wood Frames | 513 | Pine Wood | Distressed, Matte | 5/8″, 3/4″ | Rustic decor |
| Wood Frames | 851 | Maple | Natural, Satin | 5/8″, 3/4″ | Modern interiors |
| Wood Frames | 865 | Oak | Matte, Gloss | 5/8″, 3/4″ | Photographs and prints |
| Wood Frames | 880 | Cherry | Gloss, Semi-Gloss | 5/8″, 3/4″ | Galleries and museums |
| Wood Frames | S24 | Teak | Oiled, Matte | 5/8″, 3/4″ | Tropical-themed decor |
| Wood Frames | S30 | Birch | Natural, Varnish | 5/8″, 3/4″ | Contemporary art pieces |
| Wood Frames | 532 | Cedar | Gloss, Textured Finish | 5/8″, 3/4″ | Outdoor art displays |
Tools and Materials You’ll Need
Keep in mind that as a beginner you can have some budget-friendly tools that accomplish the task perfectly
Basic DIY Framing Tools:
Professional Tools:
- Canvas pliers (for stretching rolled canvas)
- Mitre saw for angled cuts
- Custom wood or metal frame materials
Step-by-Step Guide to Framing Stretched Canvas Art
Step 1: Measure and Cut the Wood
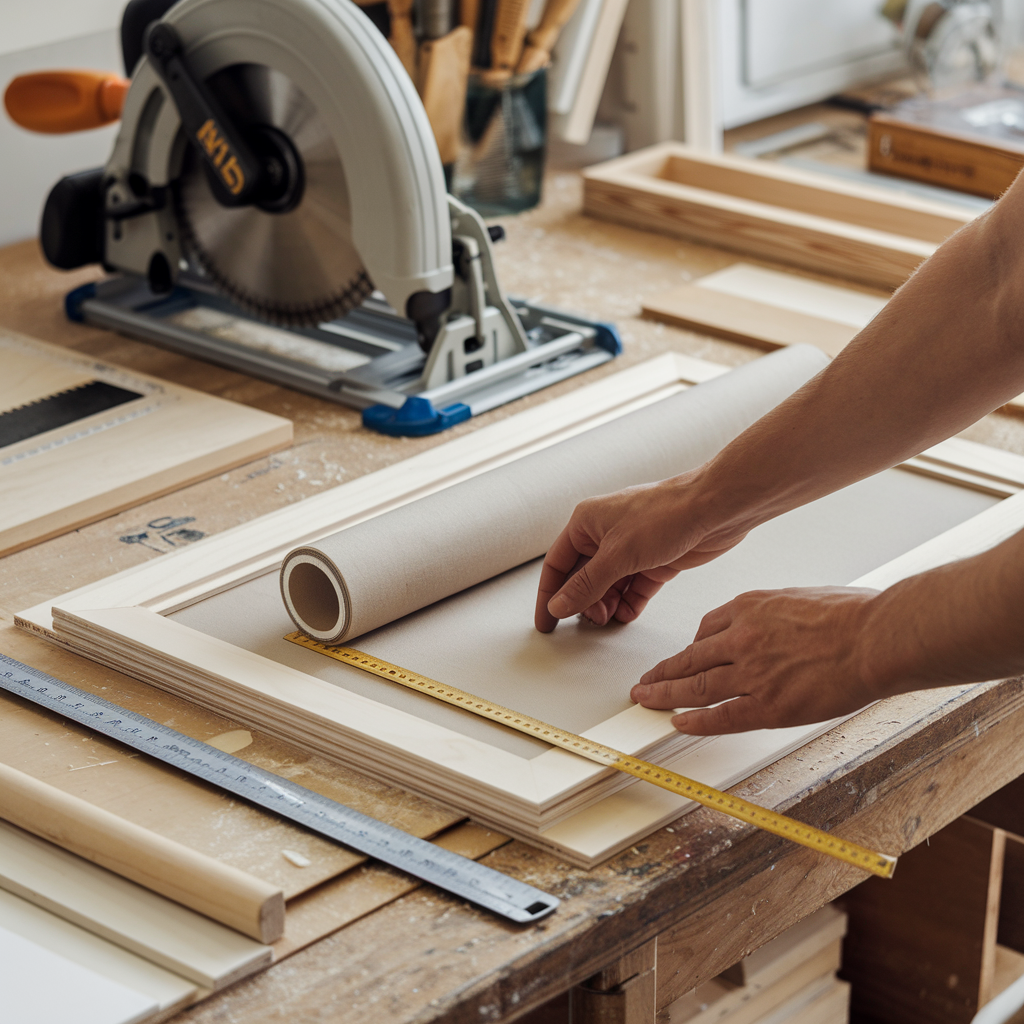
First, check if your canvas is square. Exact sizes are key for perfect angled cuts. Trim your frame parts, making sure each slant’s shorter side lines up with the canvas size. Be sure to clearly mark the wood before cutting, so no errors occur.
Step 2: Assemble the Frame
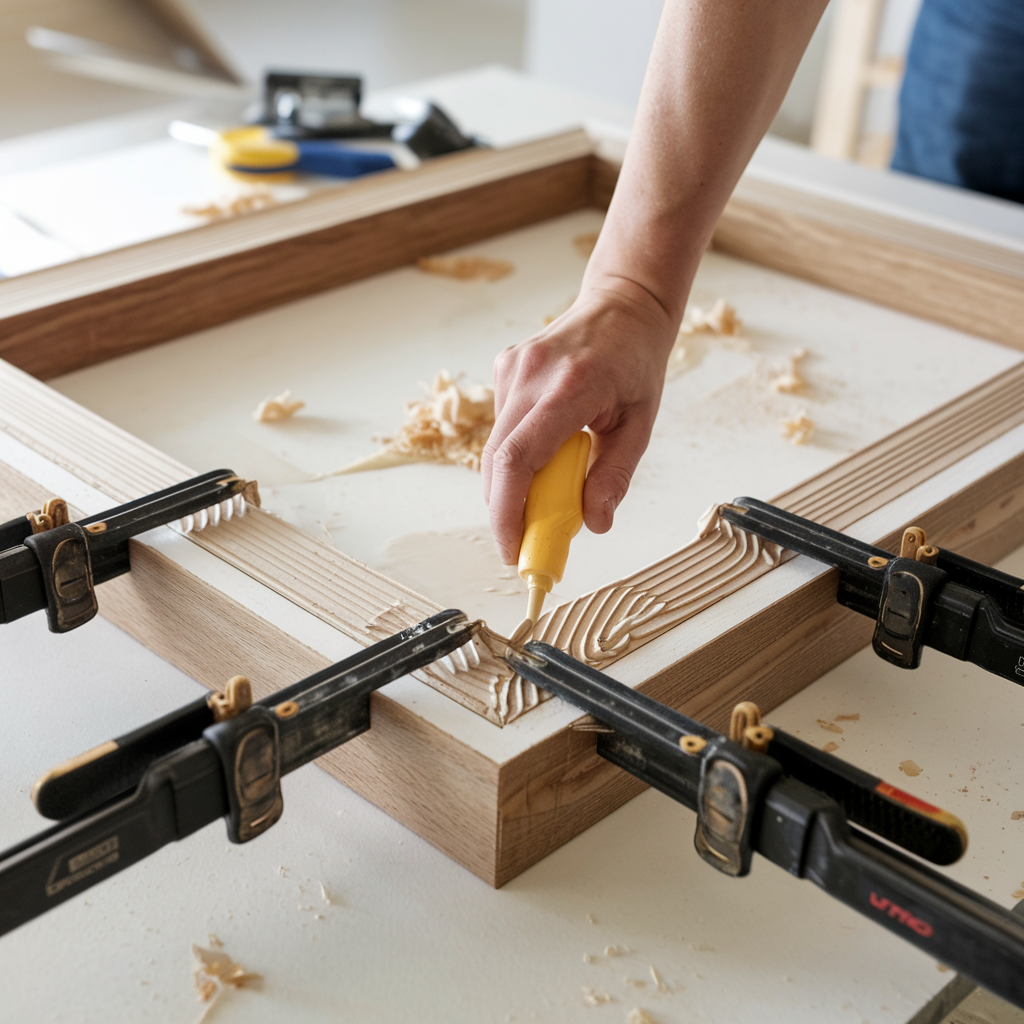
Start by slicing the timber, then smear a powerful glue – such as DAP Weldwood Instant Adhesive – on each angled edge. Match up the corners. Ensure they stay firm using clamps until the glue is fully dry.
Step 3: Secure the Canvas
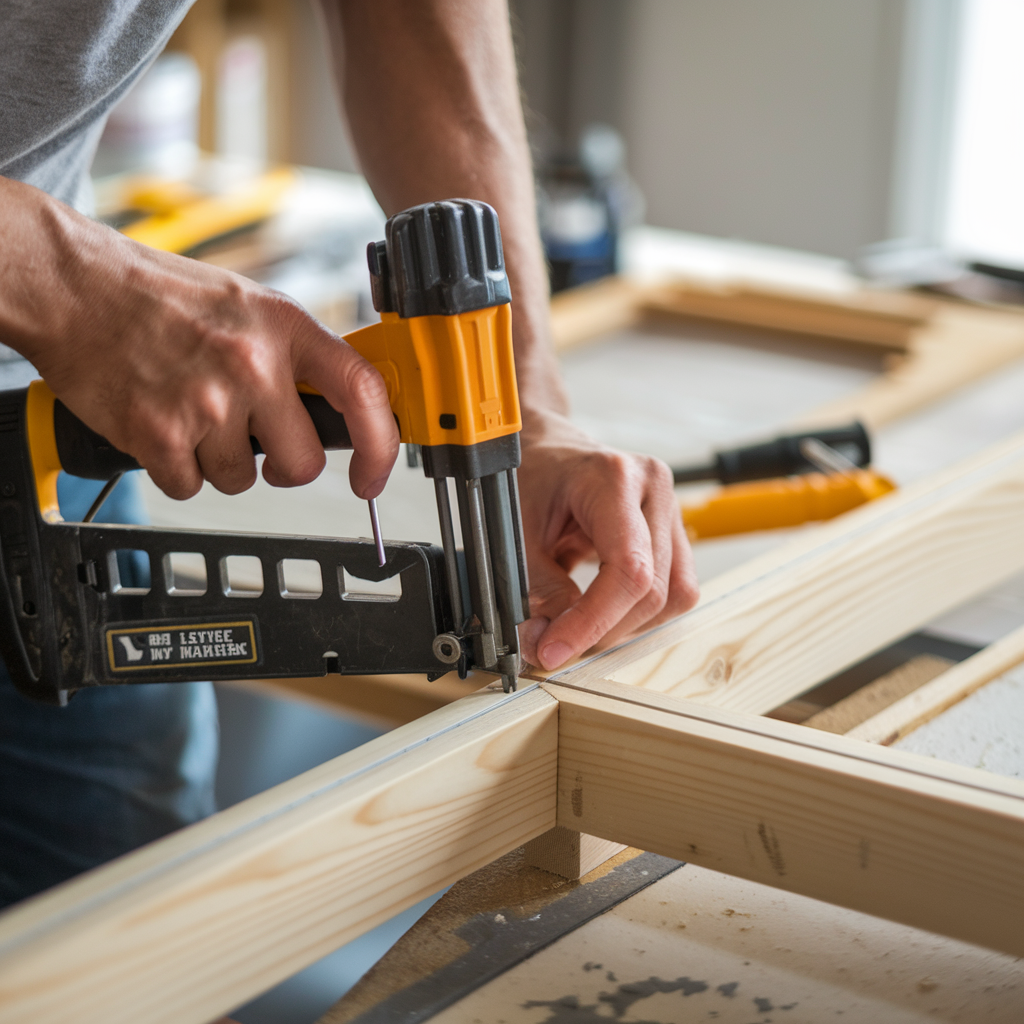
Boost the strength of the corners with 1-inch pin nails. This gives extra support and makes sure the frame stays together over time.
Step 4: Fill and Finish
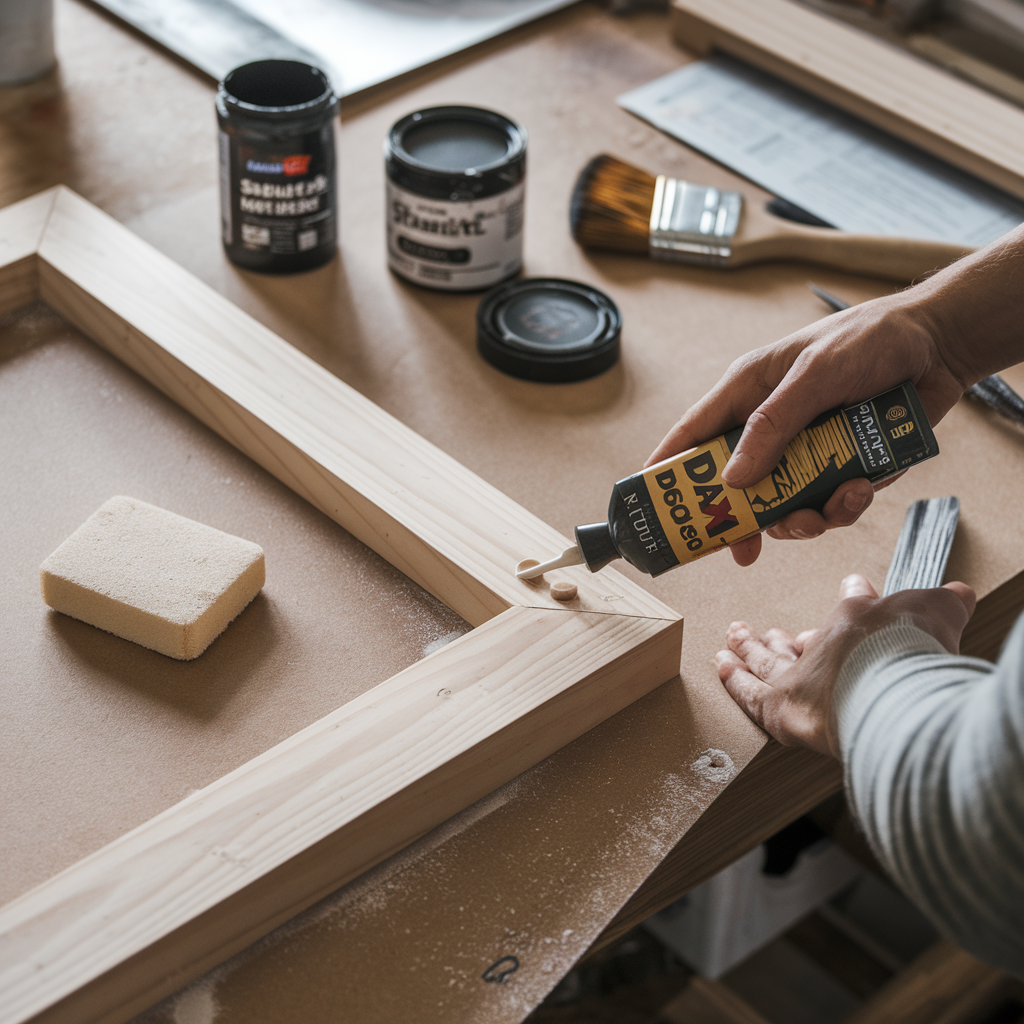
Grab some DAP Plastic Wood-X for filling nail holes and joint gaps. Let it dry, then sand for smoothness. It’s all about no seams! Now pick a stain or paint to make your frame pop.
Step 5: Attach the Canvas
Gently position the canvas into the frame. Firmly hold it down with 1 1/2-inch nails, pushing them in from the side that holds the canvas. This action makes the frame appear neat and expertly arranged, all set to be showcased.
How to Hang Canvas Art Without a Frame
Putting up your canvas artwork doesn’t always mean using a frame. For those who want simplicity or a modern vibe, here are some methods to display canvas art without a frame:
- Command Strips: These adhesive strips are great for hanging light canvases. They don’t damage the wall, making them perfect for renters or anyone who doesn’t want to drill holes.
- Nail and Hook: When dealing with a thicker canvas, an ordinary nail or hook driven into a wall is sufficient. Hang the canvas securely using the wooden stretcher bars.
- Canvas Attachment: For a vibe echoing an art gallery, fasten your canvas using metal or wooden clips. This can foster a contemporary, hovering look.
Choosing the Right Frame for Your Artwork
Picking the perfect frame is key. It needs to go well with your art piece and boost its beauty. Wooden frames are great for old-school art, giving it a warm and timeless vibe. On the other hand, metal frames really pop with modern or industrial style art, making them look sleek.
Floater frames are an awesome choice for canvas art. They highlight the edges, making the art stand out. Always think about the color, how thick it is, and the style of your art before you frame it. The frame should amplify, not overshadow, the artwork’s charm. This way, you can display your art in the best way possible.
DIY Framing Tips for Beginners
It’s fun and fulfilling to frame your own canvas artwork with the right tips. Here’s one: always measure twice before you cut. Doing so stops pricey blunders when slicing wood or tweaking your frame’s size. When building the frame, make sure the corners snugly fit together.
This avoids any unsightly gaps that could ruin the overall look. If you’re mindful of cost, think about reusing old wood or frames from second-hand shops. You’ll save cash and can mix things up for a unique touch to your piece. Lastly, don’t rush the framing. Going slow gets you the best results, leaving your canvas art looking top-notch.
Conclusion
Setting your canvas art in a frame is key to boosting its allure and keeping it safe for longer. Be it a classic frame, a modern floater, or going sans frame, the right choice can morph your art into an eye-catching centerpiece. This guide gives you tips from picking the right frame materials to smart hanging strategies. This way, your art display feels more you and avoids harm over time. In the end, framing isn’t just for looks, it’s about showcasing your taste and keeping your beloved artwork for the long haul.
People Also Ask
Does canvas look good framed?
Sure, framed canvas art is awesome! Adding a frame really improves the look by giving it depth and shape. The art becomes safer too. It’s shielded from dust and other harm, which makes it perfect for showing off anywhere. PLUS, a good frame can match the canvas’s color and style. This boosts its cool factor, making it a star attraction in your room. Summing up, frames give canvas art a neat, pro finish.
How much does it cost to put a canvas on a frame?
The cost of framing a canvas can vary significantly depending on factors such as size, frame type, and whether you choose to do it yourself or hire a professional. For DIY framing, basic materials, including wood and tools, can range from $30 to $100, while ready-made frames from craft stores typically cost between $20 and $100. If you opt for professional framing, standard sizes (like 16″x20″ or 24″x36″) usually fall between $50 and $300. For custom frames designed for larger or unique sizes, prices can escalate to anywhere from $100 to $500 or more, depending on the materials and design chosen.
Should canvas art be framed with glass?
Canvas art has a tough surface, making it a great choice to hang without glass covering. It stands up well to water or sunlight damage, unlike paper art. But, if you want to keep it extra safe from dust and dirt, or avoid some careless bumps and scratches, glass could be a good idea, especially for pieces that are worth a lot or fragile. When using glass for your canvas art, opt for the kind that protects against UV light. This way, the artwork’s colors and overall quality stay bright longer.

